Pebbledash removal in Hucknall
Pebbledash removal in Hucknall
Taking off a rough covering and installing its replacement are two connected jobs. Keep them distinct in the proposal so the removal method, exposed background and new finish can each be assessed. The work should not rely on a promise that attractive brickwork will appear or that every stripped wall will immediately accept the next render.

On this page
Say why the covering is coming off
A homeowner may want a different texture, while an inspection may identify loose or unsuitable material. Those reasons lead to different comparisons. If the existing surface is sound, a compatible colour treatment might achieve the intended change with less disturbance. If it is detached, the defect and its extent need assessment regardless of the preferred appearance.
Record later paint and previous repairs as part of the existing construction. A painted roughcast surface may contain several layers that affect preparation and removal. Ask the surveyor to identify what is known and what needs a trial. The everyday name used for the covering is useful for conversation, but it should not replace a description of the actual material in the specification.
Render respray is a separate option for suitable retained finishes. Render repair may address a defined failed area. Comparing them with removal is worthwhile when the evidence supports those routes, but neither should be offered to disguise unsound material. Make the choice from the wall's condition and the required result rather than from a fixed preference to strip or coat everything.
| Package | Include in the scope |
|---|---|
| Investigation | Trial location, method and findings |
| Removal | Edges, protection, access and waste |
| Background | Inspection and authorised repairs |
| Replacement | Supported build-up and approved finish |
| Records | Opened wall and completed system information |
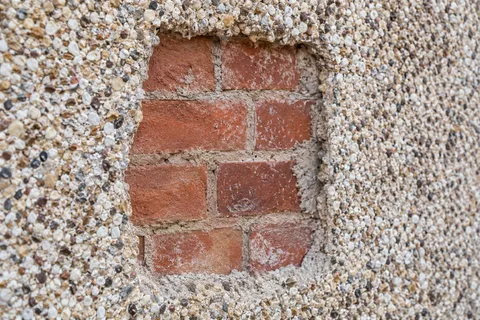
- Trial area A small patch is taken off to see how well the dash is bonded and what lies beneath.
- Removal Dash and backing render are hacked off to masonry or to a sound backing coat.
- Clear and dispose Debris is bagged or skipped; this is heavy, dusty and noisy work.
- Repair the masonry Exposed bricks, blocks and joints are repaired before anything new goes on.
- New render system The wall is rendered with the chosen system, or left as fair-faced masonry if suitable.
The usual order of work. The survey and the chosen products decide the actual steps.
Use a trial to test the method and the masonry
Agree where a limited opening will be made and what it is meant to show. Record the covering, its bond and the effect of the proposed method on the wall. Include the location in the photographs, with an overview as well as close-ups. The findings should be understandable later without relying on somebody remembering which patch was tested.
Weak masonry can lose its surface during aggressive removal. The trial should identify that damage and prompt a review of the method if necessary. Simply recording that the pebbledash came off does not establish a successful approach. Ask who assesses the result and which alternative methods or scope changes would be considered if the background proves more fragile than expected.
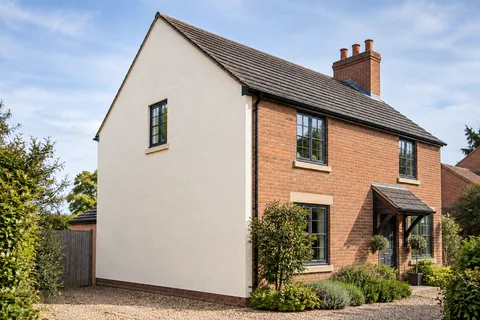
A trial has limits. A repaired gable, original frontage and later extension may not share the same substrate. State which areas the result represents and where further investigation may be needed. Do not extrapolate one easy patch into a guarantee that every elevation will strip cleanly or need no further preparation.
Protect the boundary between removal and retained work
If only one wall is being stripped, mark the stopping points at corners, openings and roof junctions. The retained frontage or adjoining finish needs protection during the operation. A tidy new gable is not a satisfactory result if the removal has damaged the corner of a surface that was meant to stay. Include edge work in the method and price.
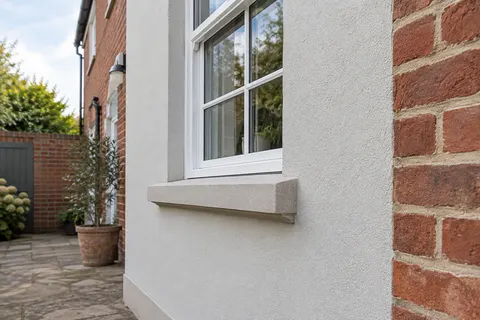
Windows, doors and narrow reveals can need careful handling. Identify whether fittings are removed and how exposed edges are protected. New frames installed immediately before stripping may be particularly vulnerable to debris or tools. Coordinate the sequence with the relevant installer so the facade work does not create avoidable repairs to another completed package.
The wall rendering specification should describe the final interface at each boundary. The removal contractor needs to leave a background suitable for that design, not merely stop at a convenient line. Where different contractors carry out the two operations, give both the same drawing and arrange a handover inspection before the replacement begins.
Plan access and waste for removal work
The access arrangement must allow the covering to be removed and handled safely while protecting occupants and nearby property. A narrow passage or glazed roof can change the method substantially. Show these constraints during the survey. Do not assume that the equipment chosen for applying a light finishing coat is automatically suitable for the earlier removal operation.
Agree the waste route, collection and clearance responsibilities. Keep necessary entrances and shared routes workable under the planned site arrangements. Material storage and debris can occupy more space than expected if the route has not been considered. The work programme should include clearing and reinstatement, rather than treating them as an unspecified task after the finish is complete.
If a boundary or neighbouring access is involved, establish the arrangement before the start. The contractor cannot infer permission to work from another property simply because the wall is easier to reach there. The confirmed access needs to support both removal and the later repair and application stages, which may have different timing requirements.
Inspect the opened wall before choosing repairs
Record mixed masonry, altered openings, weak joints and previous repairs once they are visible. Compare those findings with the assumptions in the quotation. The contractor should explain which items affect the new render and which require other advice or work. Do not cover an unresolved defect simply because the final finish has already been selected.
Lime rendering may be appropriate where traditional masonry and compatibility considerations support it. Other backgrounds may suit a specified modern system. The decision should follow the assessment rather than the hope of using one convenient material everywhere. Where heritage requirements apply, keep the approved scope in view and seek relevant advice if the opened condition changes the proposed work.
Agree additional preparation through a clear change process. Photographs, locations and a description of the repair make that process easier to review. The original proposal should state how the wall is protected while a decision is made. An exposed elevation should not create pressure to accept unexplained work immediately because no pause was allowed for.
Confirm the replacement before the project moves on
Silicone rendering and monocouche rendering provide different surfaces and build-ups. Select the supported option for the prepared wall and approve its appearance on a representative sample. If the replacement choice remains open until the trial, allow time for that decision in the programme. Do not leave colour and texture as urgent choices after the whole wall has been stripped.
External wall insulation is a broader project that changes openings, roof edges and attachments. It can be considered alongside removal, but its design should be resolved before installation. Keep records of the exposed and repaired masonry, then the completed system. Those photographs and specifications explain what now sits beneath the visible finish and provide a better starting point for future alterations.
Common questions
Can removal and replacement be quoted separately?
They can be separate packages within one proposal or separate contracts. Define the handover condition, responsibility for background repairs and shared access arrangements. The replacement contractor needs to accept a suitable prepared wall, and the owner needs a clear approval route for discoveries rather than an undefined gap between stripping and application.
See housing and planning information for Hucknall and nearby places, including the source and geography behind each figure.